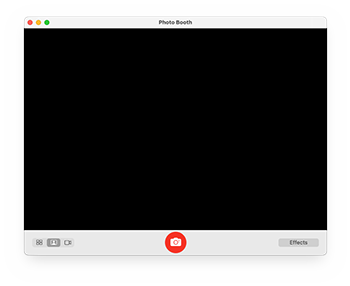
Photo Booth is a small but an exciting application in Mac OS X to take pictures and video with the help of in-built camera. To access the photo booth application choose the below path Finder ?Applications ?Photo Booth.
Wikipedia
-
On clicking the Red button of the photo booth application, it captures an image after 3 seconds of delay.
-
But if you want to skip the delay and capture an image immediately, then keep hold of the ‘Option’ key & hit the red button. This won’t let you wait for 3 seconds.
-
Photo Booth previews the image which it takes and with some effects the images can further be beautified.
-
Images/Videos can be shared through mails, used in chat as icons and more.
Data loss in Photo Booth application
Accidentally or intentionally hitting the button ‘X’ means deletion of photo (the original copy as well as from the photo booth). However, few chances are still left with the user to recover the deleted images if and only if the images are deleted but the photo booth tool is not closed. If such is the case with you then you can follow the below path and locate your deleted images and restore from there.
/private/var/tmp/folder.501/TemporaryItems/com.apple.
PhotoBooth/intermediateTrashDirectory /
But if you have closed the photo booth application after deleting the images accidentally, then you will not find the deleted images at the above mentioned location. For the recovery of your priceless photographs, videos all you need to run is a photo recovery Mac tool. The use of a photo recovery tool is not as techie as it may sounds. Today, most of the tools for recovering data are Do-It-Yourself software.
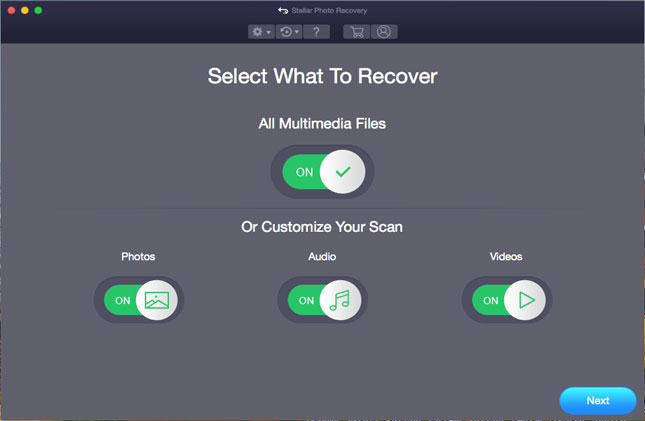
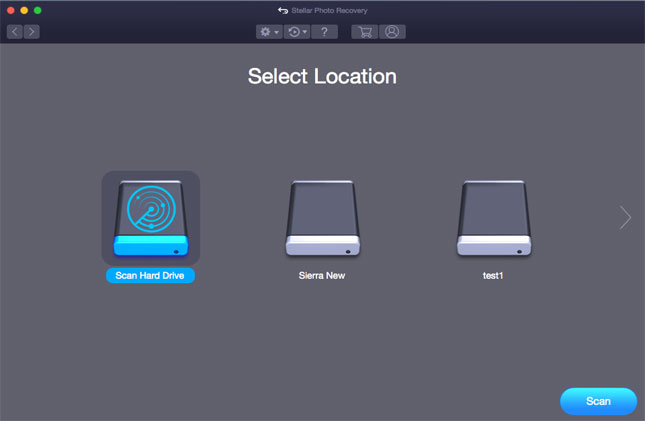
1) Run the Mac photo recovery tool and from interface select either the main hard drive/volume.
Mac Photo Recovery
2) Hit ‘Start Scan’ button & wait patiently (scanning time depends upon size of the stored data).
3) Either Check all ‘File List’ or Uncheck the unwanted image file types.
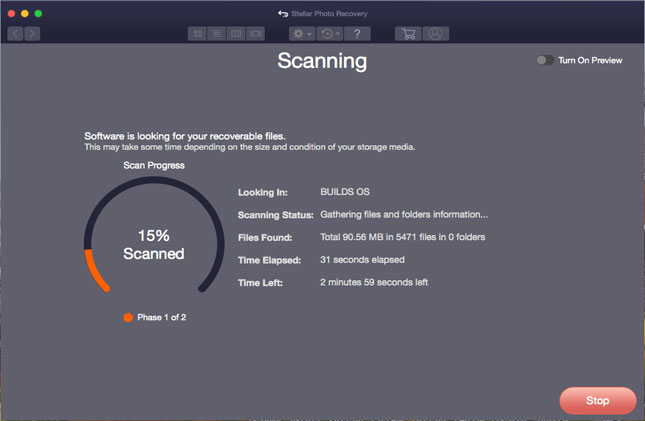
4) Scans begins and after completion, files are listed on left hand side of the Mac photo recovery tool.
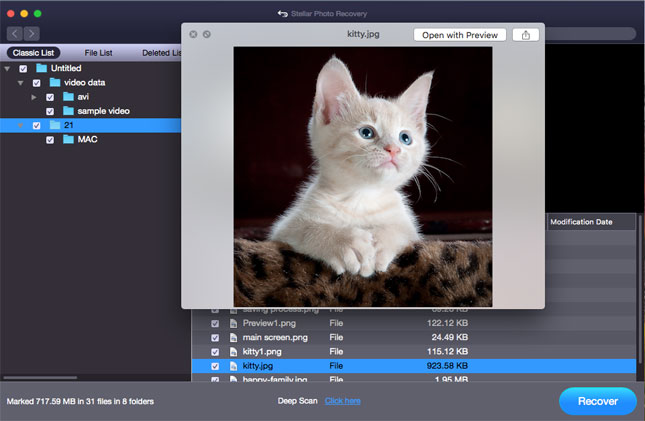
5) Select all files or the files which you only want to recover. Hit the ‘Recovery Button’, provide the path to save the recovered files.


Comments